In this multi-part series, I will be building a full-featured chat application with react and Firebase. The first entry in the series will focus on building a simple global chat room where all the messages will be readable by all members. Member authentication will be handled using Google Sign-in.
Prerequisites
Before we start, ensure you have:
nodeandnpmoryarninstalled on your computer- Access to a Firebase account
Bootstrapping the react project
We will use typescript for our react project. We will need the firebase and react-firebase-hooks packages to interact with the Firebase project. The react-env package will be useful for loading environmental variables from a .env file
To initialize a React project with typescript and install our dependencies open a terminal and run
npx create-react-app react-chat-app --template typescript
cd react-chat-app
npm install  --save firebase react-firebase-hooks
Create Firebase App
Log in to your Firebase Console and click on Add Project.
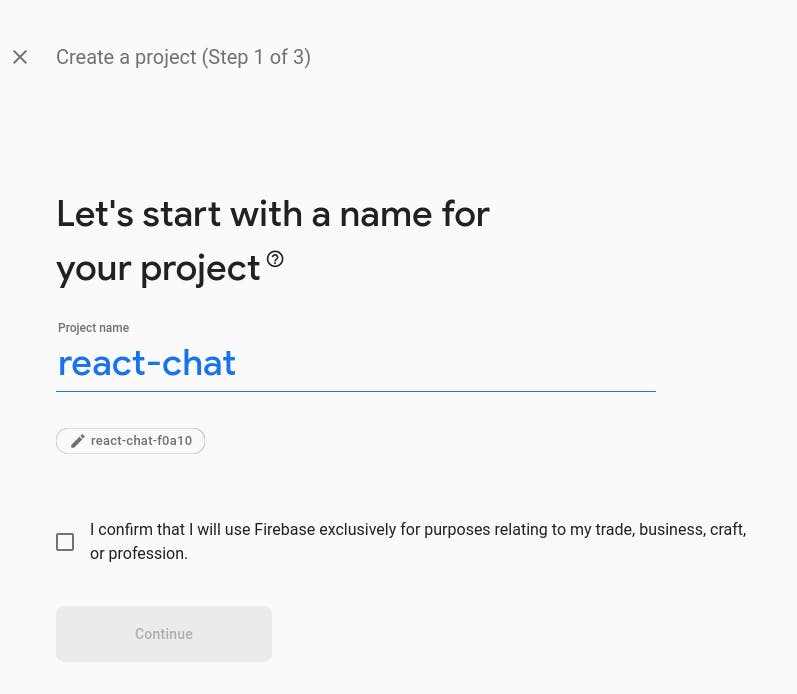
Give your new project a name, check the confirmation checkbox and click on Continue.
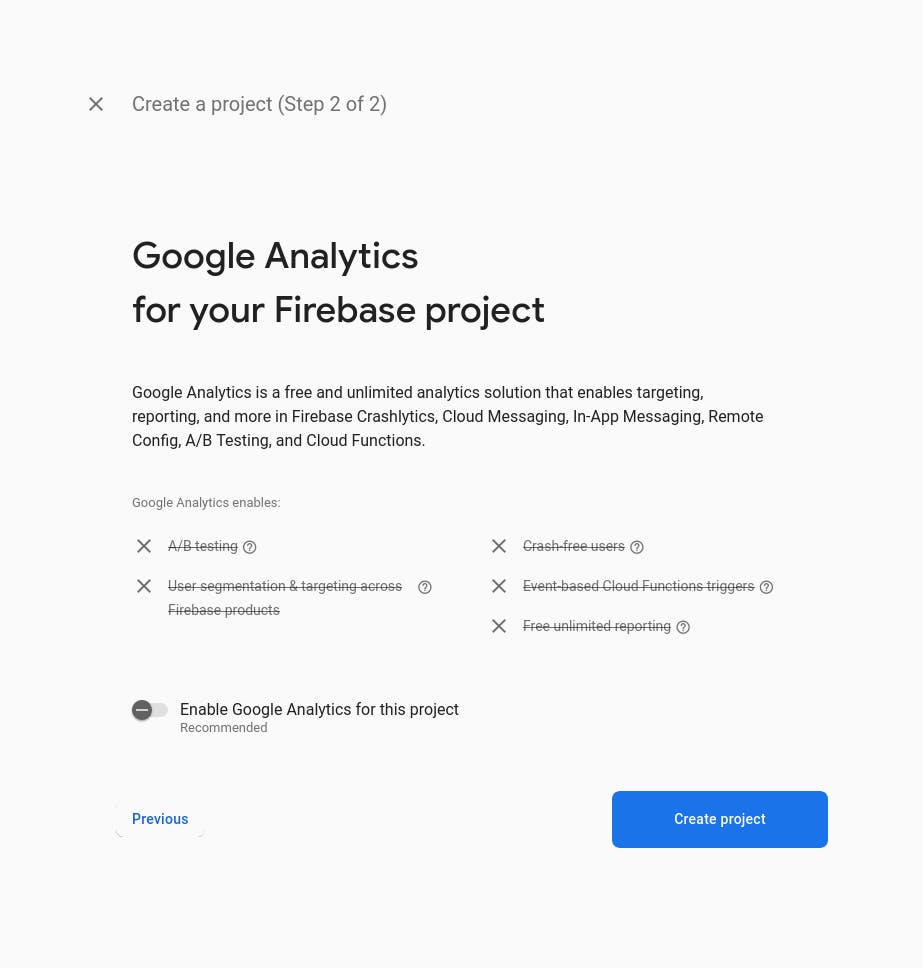
Uncheck Enable Google Analytics for this project for a faster setup, and then click Create project, and then wait for the project to be created.
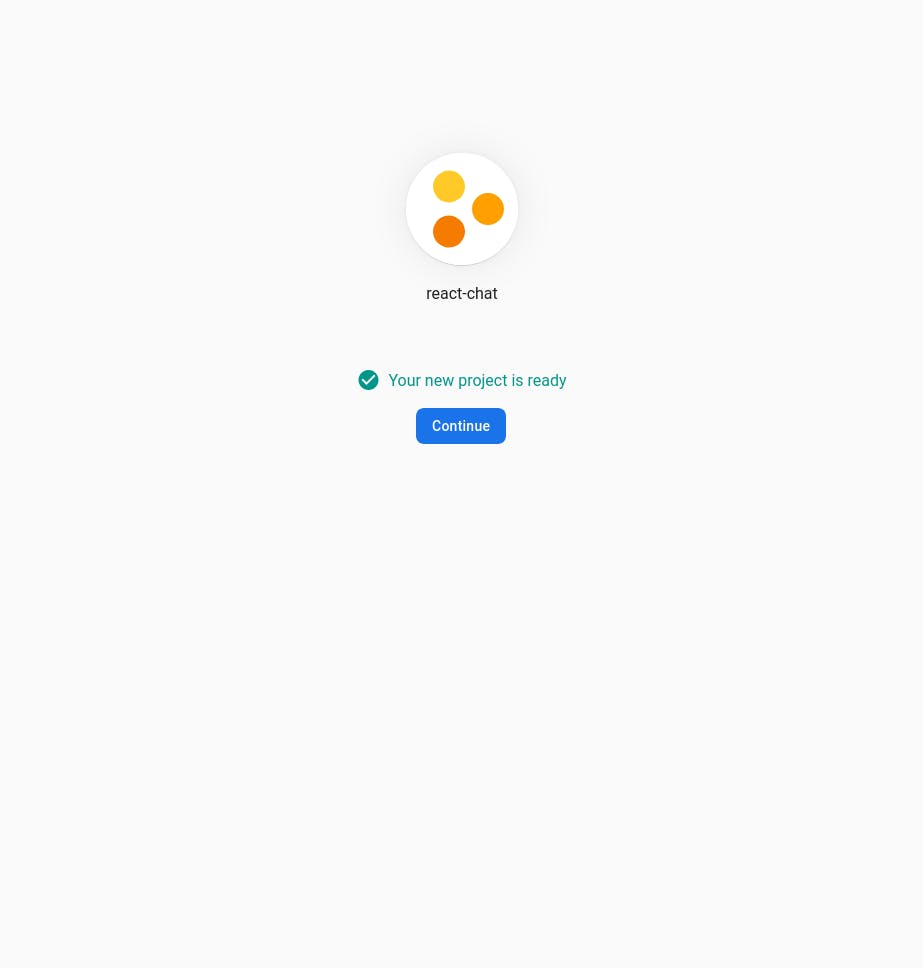
Once the project is ready, click on Continue to go to the project home.
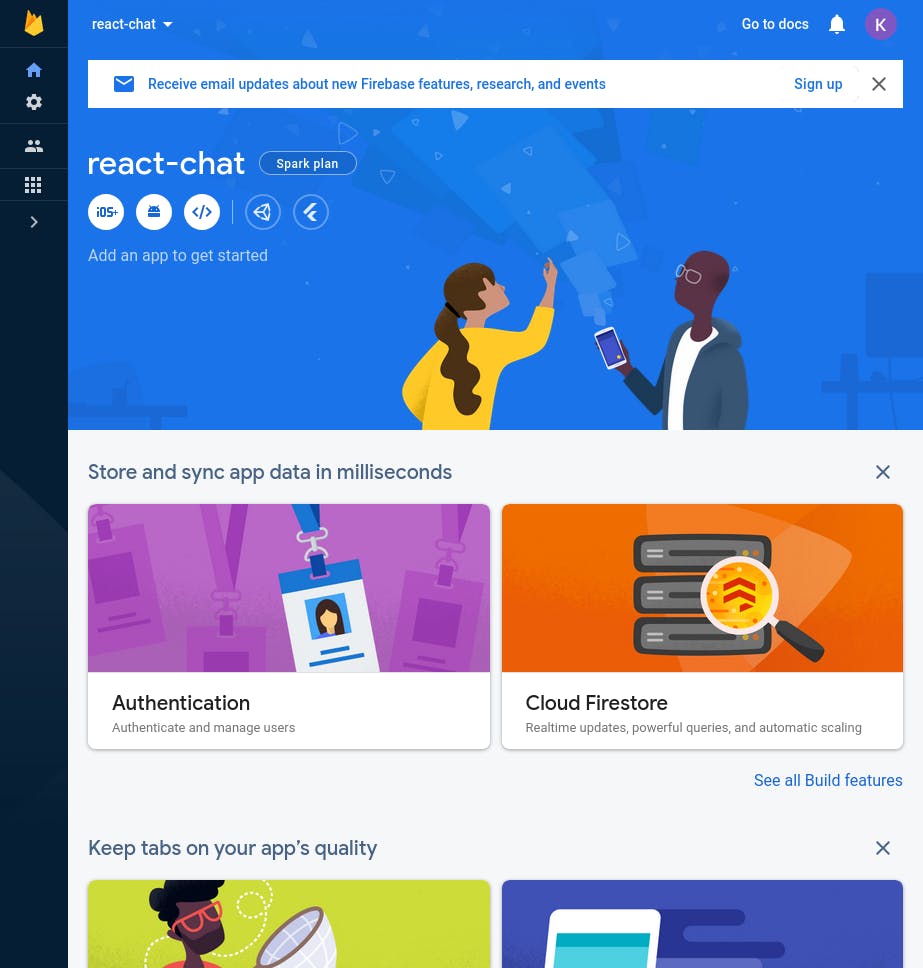
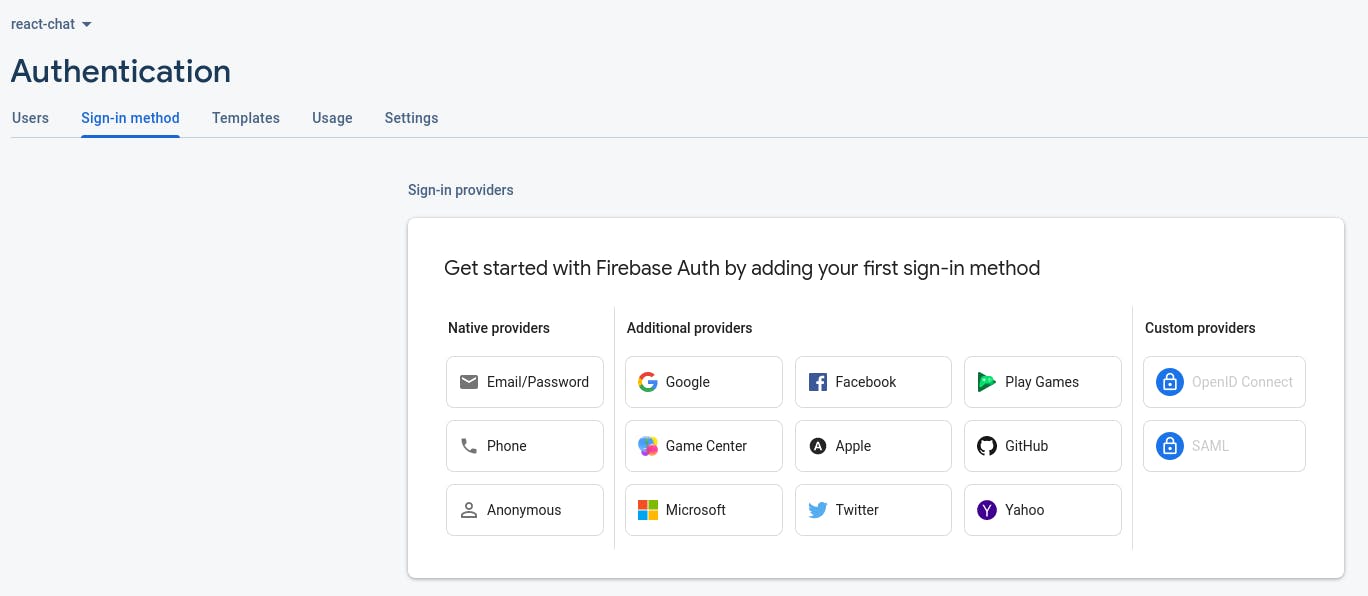
To allow users to login with Google Sign-in, click on Authentication then Get started.
Under the Sign-in method tab, select Google
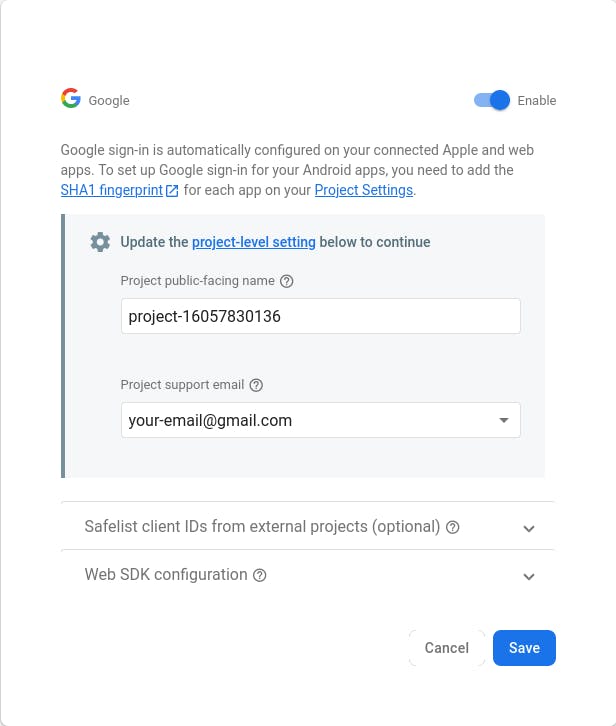
Click on the Enable switch and select a support email, then click on Save.
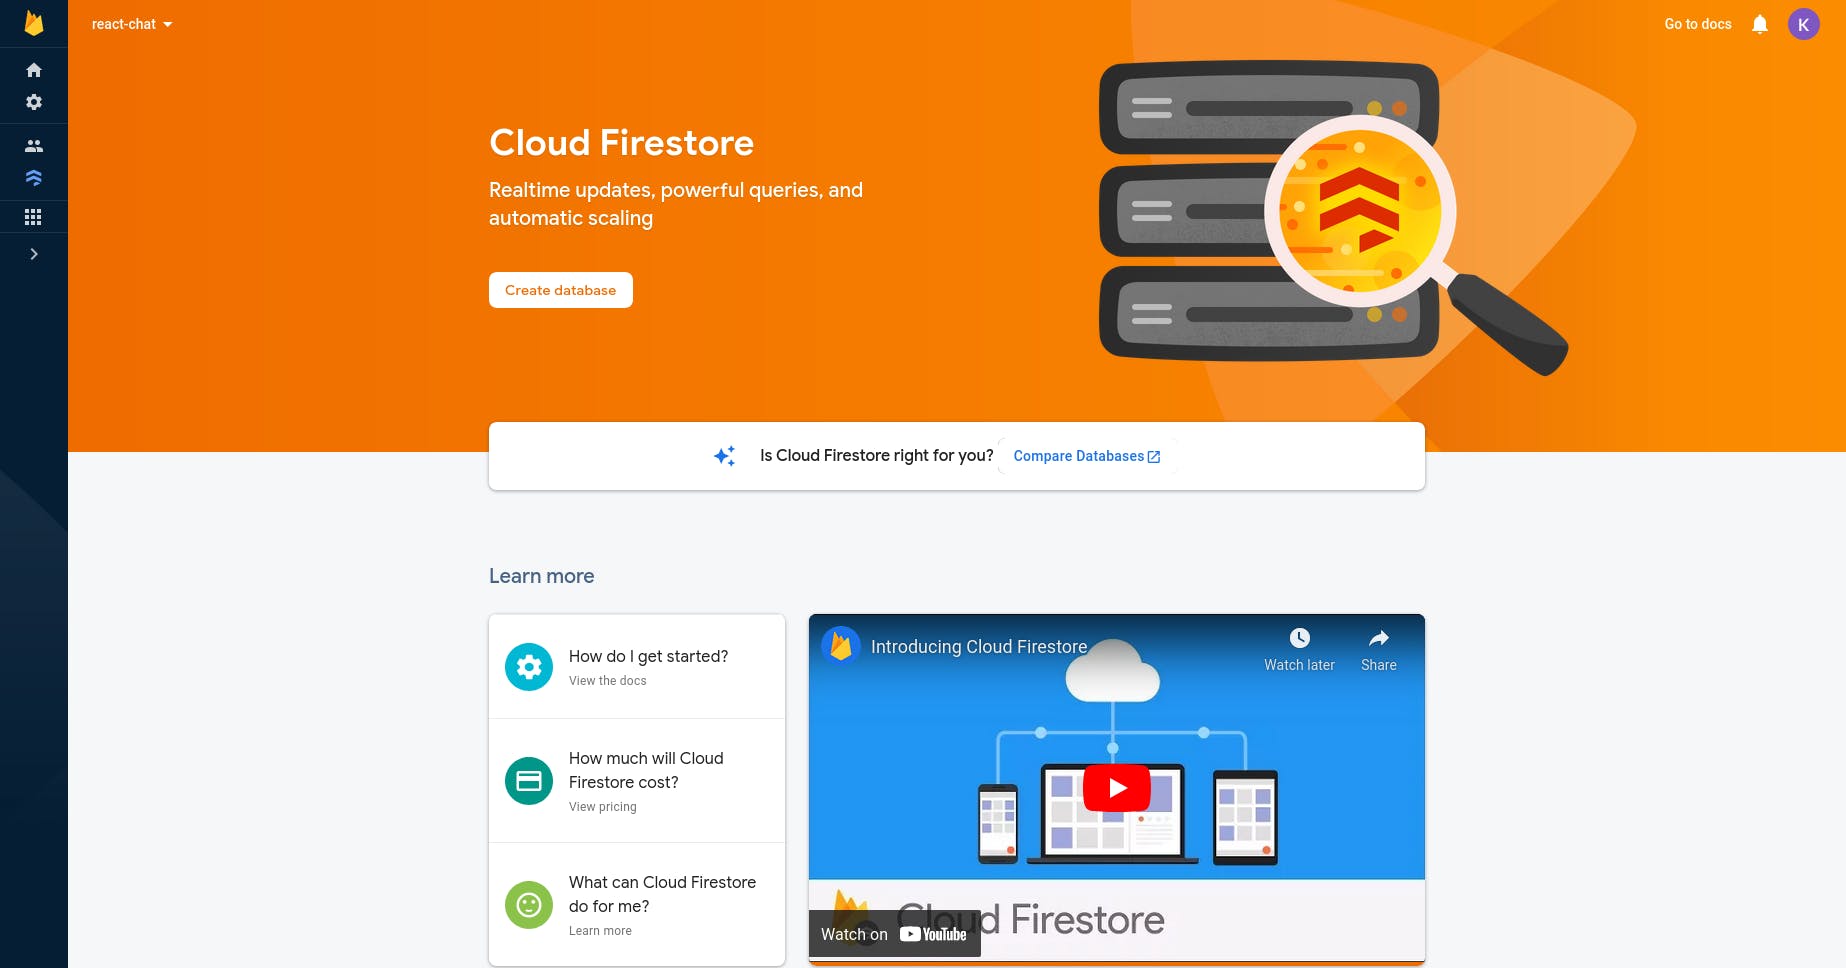
To configure a Cloud Firestore database, go back to the project home and click on Cloud Firestore then Create database
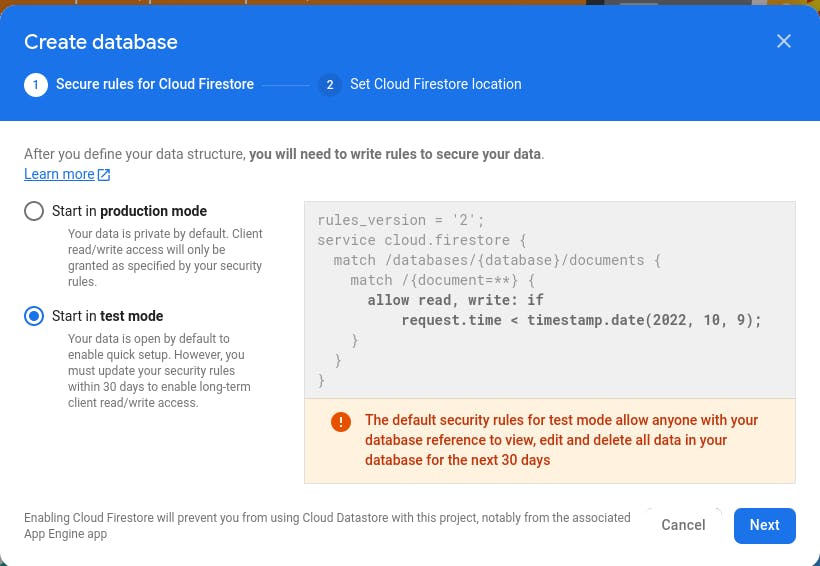
Select Start in test mode, click on Next, select a location and click on Enable.
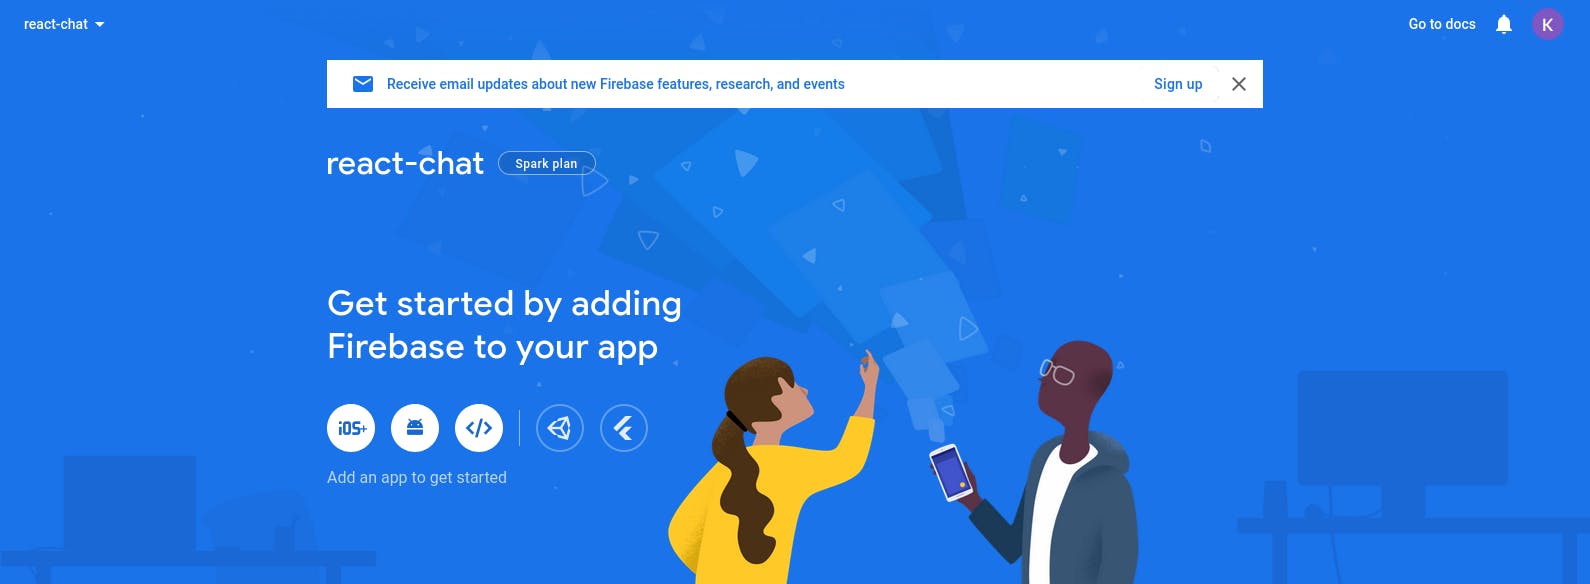
To include Firebase configurations in your application, go back to the project home and click on the web icon.

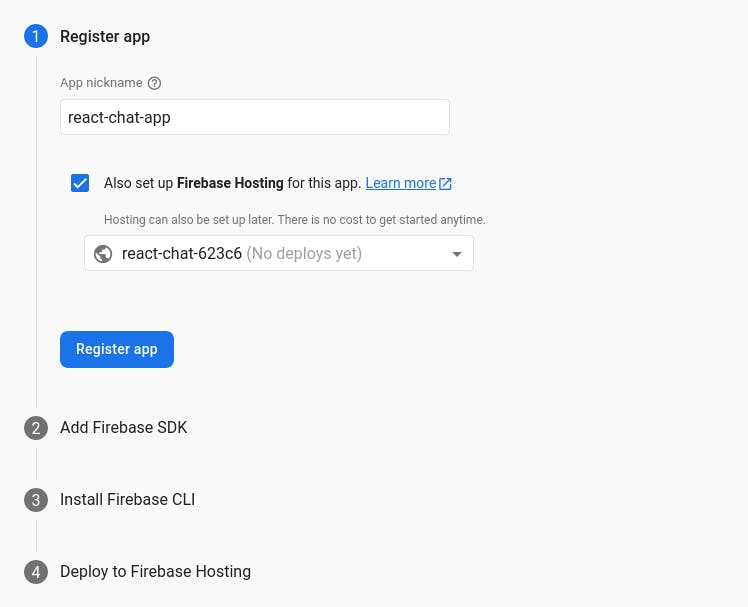
Fill in the information by following the prompts
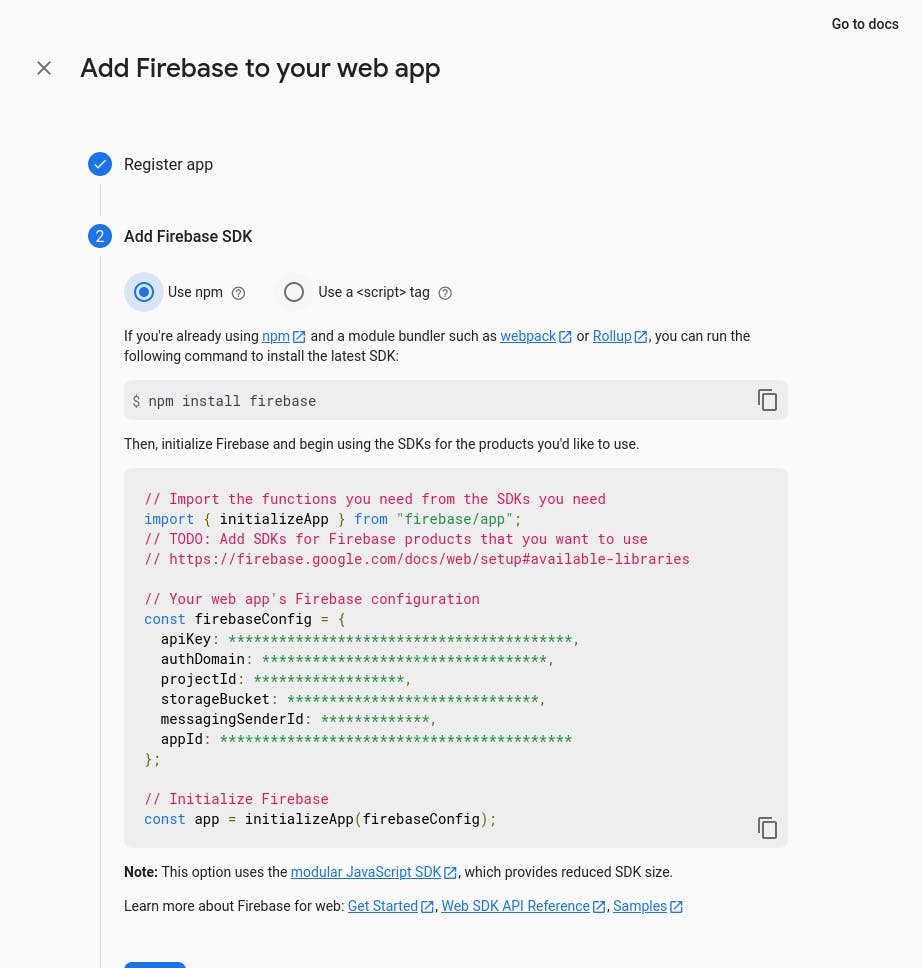
Copy the configuration details and put them in a .env file in the root of your project in the format
FIREBASE_API_KEY=*****************************************
FIREBASE_AUTH_DOMAIN=**********************************
FIREBASE_DATABASE_URL=**********************************
FIREBASE_PROJECT_ID=******************
FIREBASE_STORAGE_BUCKET=******************************
FIREBASE_MESSAGING_SENDER_id=*************
FIREBASE_APP_ID=******************************************
Firebase Configuration
We will handle all our applications Firebase concerns in the file src/firebase.ts.
First we import all the requirements for working with the Firestore database and Google Sign-in.
/* src/firebase.ts */
import {
  addDoc,
  collection,
  getFirestore,
  limit,
  orderBy,
  query,
  serverTimestamp,
} from "firebase/firestore";
import { getAuth, GoogleAuthProvider, signInWithPopup } from "firebase/auth";
import env from "react-dotenv";
import { initializeApp } from "firebase/app";
We then load the firebase configuration from the environmental variables. Next we initialize a firebase app, and get the auth and firestore variables for working with authentication and the database respectively.
/* src/firebase.ts */

const firebaseConfig = {
  apiKey: env.FIREBASE_API_KEY,
  authDomain: env.FIREBASE_AUTH_DOMAIN,
  databaseURL: env.FIREBASE_DATABASE_URL,
  projectId: env.FIREBASE_PROJECT_ID,
  storageBucket: env.FIREBASE_STORAGE_BUCKET,
  messagingSenderId: env.FIREBASE_MESSAGING_SENDER_id,
  appId: env.FIREBASE_APP_ID,
};

const firebaseApp = initializeApp(firebaseConfig);
export const auth = getAuth(firebaseApp);
export const firestore = getFirestore(firebaseApp);
The next step is to define exports that handle backend functionality:
- Signing in with google - We use a popup to allow the user to sign in with Google
- Sending a message - We allow a logged in user to create a message in the database.
- Retrieving the messages - We query the database for 25 messages, with the most recent first.
/* src/firebase.ts */

export const signInWithGoogle = async () => {
  const provider = new GoogleAuthProvider();
  return await signInWithPopup(auth, provider);
};

export const sendMessage = async (text: string) => {
  const { uid, photoURL } = auth.currentUser!;
  await addDoc(collection(firestore, "messages"), {
    text,
    createdAt: serverTimestamp(),
    uid,
    photoURL,
  });
};

export const publicMessagesQuery = query(
  collection(firestore, "messages"),
  orderBy("createdAt"),
  limit(25)
);
If the user is signed in, the application will show a Sign Out button, as well as the public chatroom. Otherwise, the application will show a Sign In button
We use the useAuthState hook provided by the react-firebase-hooks to keep track of the authentication status of the application.
The code in App.tsx is therefore:
/* src/App.tsx */

import React from "react";
import "./App.css";
import { useAuthState } from "react-firebase-hooks/auth";
import { auth } from "./firebase";
import { SignIn, SignOut } from "./UserAuth";
import { ChatRoom } from "./ChatRoom";

function App() {
  const [user] = useAuthState(auth);
  return (
    <div className="App">
      <header>
        <SignOut />
      </header>
      <section>{user ? <ChatRoom /> : <SignIn />}</section>
    </div>
  );
}

export default App;
The code for Signing in and Signing out the user is inside src/UserAuth.tsx
/* src/UserAuth.tsx */
import { auth, signInWithGoogle } from "./firebase";
import React from "react";

export function SignOut() {
  return auth.currentUser && <button onClick={auth.signOut}>Sign Out</button>;
}

export function SignIn() {
  return <button onClick={signInWithGoogle}>Sign in with Google</button>;
}
Inside the ChatRoom component, we need a form for sending new messages as well as the list of messages to be displayed.
/* src/ChatRoom.tsx */

import React from "react";
import { useCollectionData } from "react-firebase-hooks/firestore";

import { publicMessagesQuery } from "./firebase";
import { MessageList } from "./MessageList";
import { ChatMessage } from "./types";
import { NewMessageForm } from "./NewMessageForm";

export function ChatRoom() {
  const [messages] = useCollectionData(publicMessagesQuery);

  return (
    <div>
      <MessageList messages={messages as ChatMessage[]} />
      <NewMessageForm />
    </div>
  );
}
The MessageList component receives a messages prop and renders each messages in a MessageItem component
/* src/MessageList.tsx */

import React from "react";
import { MessageItem } from "./MessageItem";
import { ChatMessage } from "./types";

export function MessageList({ messages }: { messages: ChatMessage[] }) {
  return (
    <>
      <main>
        {messages &&
          messages.map((msg) => (
            <MessageItem key={`${msg.createdAt}`} message={msg} />
          ))}
      </main>
    </>
  );
}
The MessageItem component renders a single message with the avatar of the user who sent it
/* src/MessageItem.tsx */

import React from "react";
import { auth } from "./firebase";
import { ChatMessage } from "./types";

export function MessageItem({ message }: { message: ChatMessage }) {
  const { text, uid, photoURL } = message;
  const messageClass = uid === auth?.currentUser?.uid ? "sent" : "received";

  return (
    <div className={`message ${messageClass}`}>
      <img src={photoURL} alt="user avatar" />
      <p>{text}</p>
    </div>
  );
}
The NewMessageForm component allows the user to type a message and send it to the database.
Hitting the Submit button or Enter key submits the message. To create a newline, the key combination is Shift + Enter.
/* src/NewMessageForm.tsx */
import { sendMessage } from "./firebase";
import React, { useState } from "react";

export function NewMessageForm() {
  const [formValue, setFormValue] = useState("");

  function addMessageEnter(event: React.KeyboardEvent) {
    if (event.key === "Enter" && event.shiftKey === false) {
      submit(formValue);
    }
  }

  function submit(message: string) {
    if (message.trim() !== "") {
      sendMessage(message);
    }
    setFormValue("");
  }

  return (
    <form
      onSubmit={(e) => {
        e.preventDefault();
        submit(formValue);
      }}
    >
      <div className="chat-message clearfix">
        <textarea
          required={true}
          value={formValue}
          onKeyUp={addMessageEnter}
          onChange={(e) => setFormValue(e.target.value)}
        />
        <button type="submit">Submit</button>
      </div>
    </form>
  );
}
Conclusion
In this part of the series, we created a basic chat app that allows users to send messages to a common chat room. In the next part of the series, we will extend the functionality to allow private inboxes between two users.